In the week leading up to the April work-weekend, Dan H designed and built some utility storage bins from 2" angle iron and heavy duty hardware cloth. He was just putting on the finishing touches when the other members started arriving.
As stated in earlier blog entries, it was decided a steam driven fuel tank heater was needed in the 6's tender. According to a 1904 book on oil fired locomotives, lighter oil should be between 100F and 120F and heavy "bunker oil" (also known as "tar!") needs to be over 150F! No wonder we had problems when the stuff hit freezing last December.
After some behind the scenes discussions, the final design of the heater was agreed upon and the plans put in place to get as much done as possible during this weekend.
Last month, we had drained the oil from the tender via a dip tube in one of the risers near the tank's front. The plans for this month were to lift the tank off the tender and finish removing the residual fuel (and muck!). Then, if things went well, perhaps we'd get the steam inlet and outlet in place.
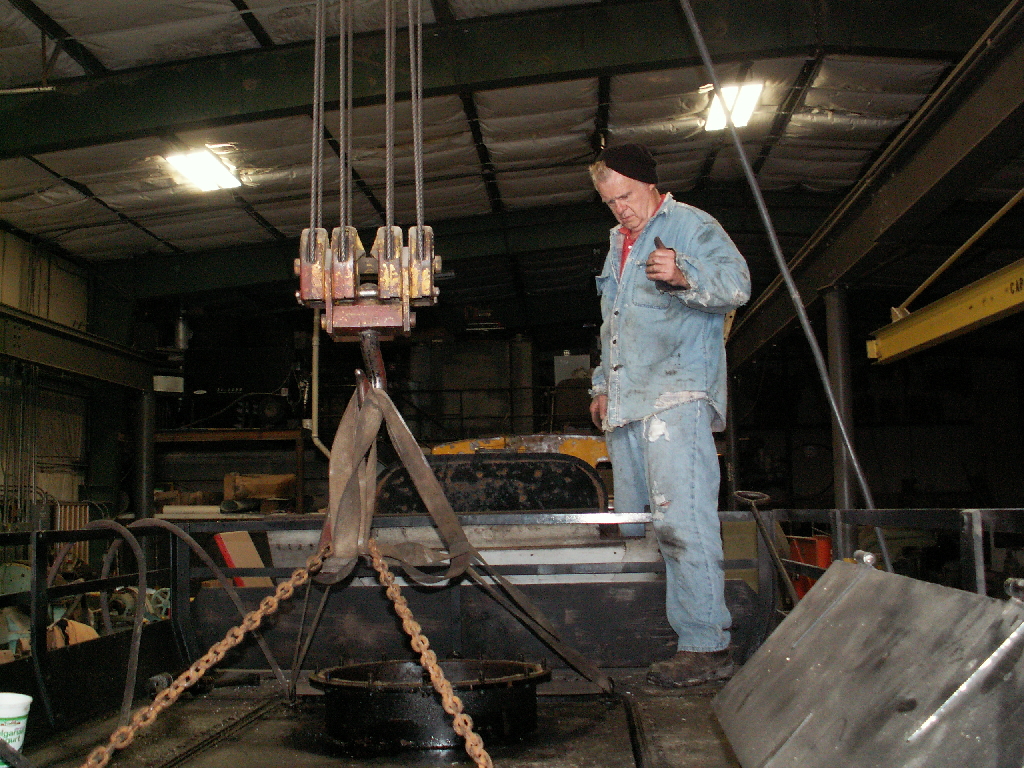
After disconnecting the pipes from the bottom of the tank and unbolting its two large tie downs, Roger R uses the bridge crane on the pit track to begin lifting the tank free of the tender.
John G operates the crane as Roger R gives hand signals.
After tilting the tank "just right" it lifted free of the tender.
Once the tank was high enough, we were able to pull the locomotive and tender out from under the tank and then set the tank on the ground.
Roger R started the process of emptying the last few gallons of fuel from the tank. The tank's water drain had mucked over and needed considerable poking and prodding to get the fuel to exit the tank.
Roger R contemplates how he will get the long handled shovel into the tank to scoop the reluctant muck off the tank's floor.
With a protective Tyvek-brand suit on, Roger climbs into the tank to scoop the muck into buckets.
John G lifts a filled bucket free of the tank and hands an empty bucket back to Roger.
After much scooping and lots of wiping, the floor becomes quite clean -- considering how awful it was to start.
After wiping the floor, walls, and top of the tank as much as possible, we set two small blowers in the risers welded to the front of the tank. We wanted to exchange the oil-rich atmosphere with something a bit easier to work with.
We were quite surprised on Saturday morning to see how effective the blowers were to dry the tank. We skipped the plans to use solvent and detergent to clean the tank and went into the next phase -- mounting the new steam pipe inlet and outlet.
Randy V and Nathan V reposition the straps so the tank can be inverted for the welding.
While the tank project was going on, Rex F and Ryan F dealt with some other mechanical issues. Here, they are changing the oil, cleaning the air filters, and fixing the exhaust pipe of the gasoline air compressor.
Dave O uses a cutting torch to make the holes in the tank's bottom. Besides the two steam pipes, we decided to replace the tank's water drain. The old 3/8" drain plugged easily so it was replaced with a 3/4" drain.
While working on the tank and compressor, we were visited by Barton J from the NRHS. The NRHS has made arrangements with the Midwest Old Threshers and MCRR to operate our equipment for a road trip taking place during their annual convention
.
Kendall O cleans some parts in the solvent tank.
Randy V and Nathan V cut some channel stock which will become the supports for the tank heater.
The steam outlet welded to the engineer's side of the fuel tank
.
The tank drain (to the left) and the steam inlet welded to the tank's fireman side. The large pipe nipple with the union is the fuel outlet.
Things were going so smoothly that after lunch John G and Elliot H went to a nearby building supply store to purchase black pipe which would be suspended over the floor of the tank.
After a few measurements were made, Roger R, Melissa B and Elsie B begin cutting and threading the long runners for the heater.
It may look like Melissa is hitting Roger in the head, but "trust me" it was the camera angle that caused this curious scene.
Despite his best efforts, by 9 PM Elliot H had run out of excuses for not going into the tank to begin installation of the heating pipes.
Elliot checks the welding gloves and wire cutter for the using the MIG welder inside the tank.
This is a view inside the tank. It isn't that large, measuring 96" front to back, 38" left-to-right, and 36" high.
After installing the right half of the pipes, Elliot decided he had enough of scooting around the tank and "hung it up" for the night.
Roger R took his place in the tank to finish the piping. By 11 PM all that was left to complete was the heater's pressure test and replacing the tank in the tender.
Once the tank is back in the tender, we can decide precisely how to bring steam to the inlet and how to position the waste steam outlet. That is something for next month.
-steam.airman